How to use a custom NuGet feed in Visual Studio 2017

This article will be very brief.
In it, I will show you how to use the ForEvolve Framework feed.
This could be applied to any other NuGet feed, including your own.
Take a look at MyGet if you want one ![]() .
.
Acquiring the NuGet feed URI
In the ForEvolve Table of content project, you can find the feed URI, which is:
https://www.myget.org/F/forevolve/api/v3/index.json
Setting up Visual Studio
In Visual Studio, you can access the NuGet feeds settings in a few different ways.
First method
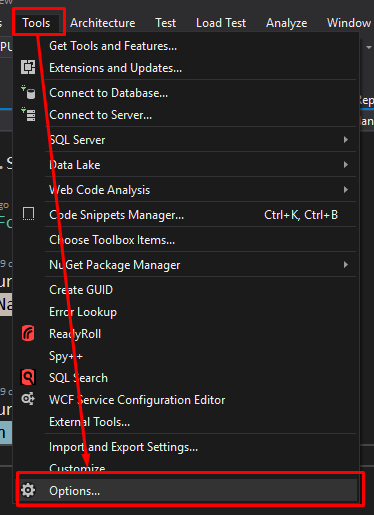
Go to: Tools > Options > NuGet Package Manager > Package Source
Tip: type
nugetin the search box.
Second method
In the project or the solution, in the Manage NuGet Packages... window, click the “gear icon.”

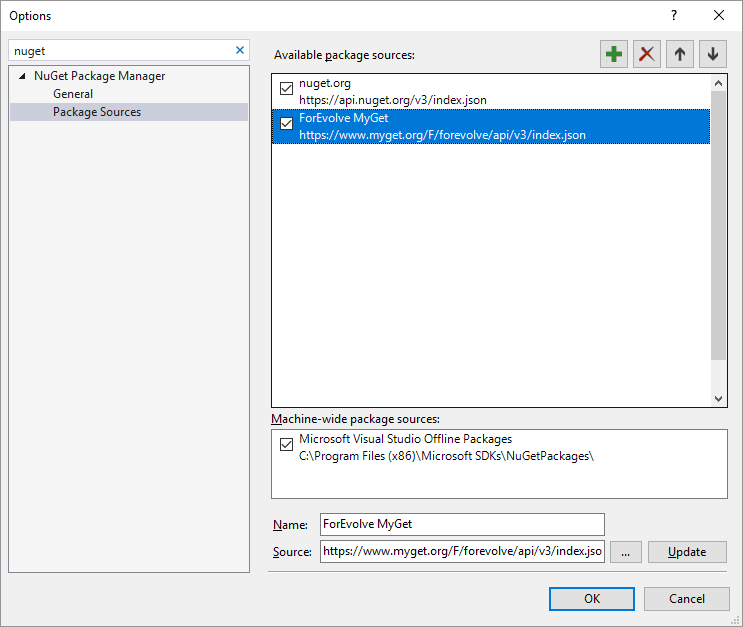
Create the feed
Once you reached that window:
- Click the green
+icon - In the bottom, name the feed (instead of
Package source) and paste in the URI (instead ofhttp://packagesource) - Click the
Updatebutton - Click
OK
You can now use the feed in all your projects!
Where to see what feed is in use?
When you manage your project or solution packages, make sure the dropdown list is set to “All” or to the feed you want to use.

Example
If you choose the “ForEvolve” feed and check the Include prerelease checkbox, you should see something like this:
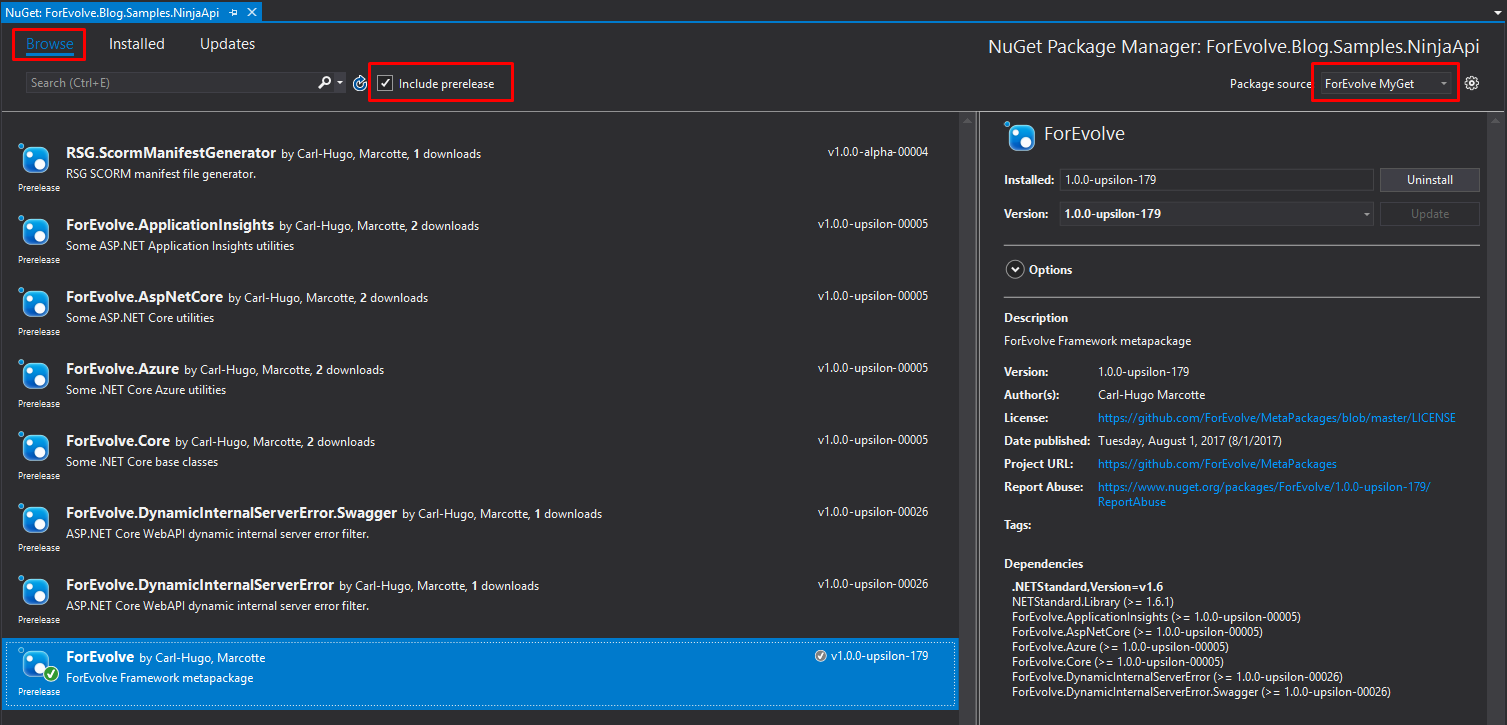
The selected package is the meta-package. You can always use this one if you don’t need fine grained package selection.
That’s it!
You know how to add and use custom NuGet feeds.
Happy coding!